
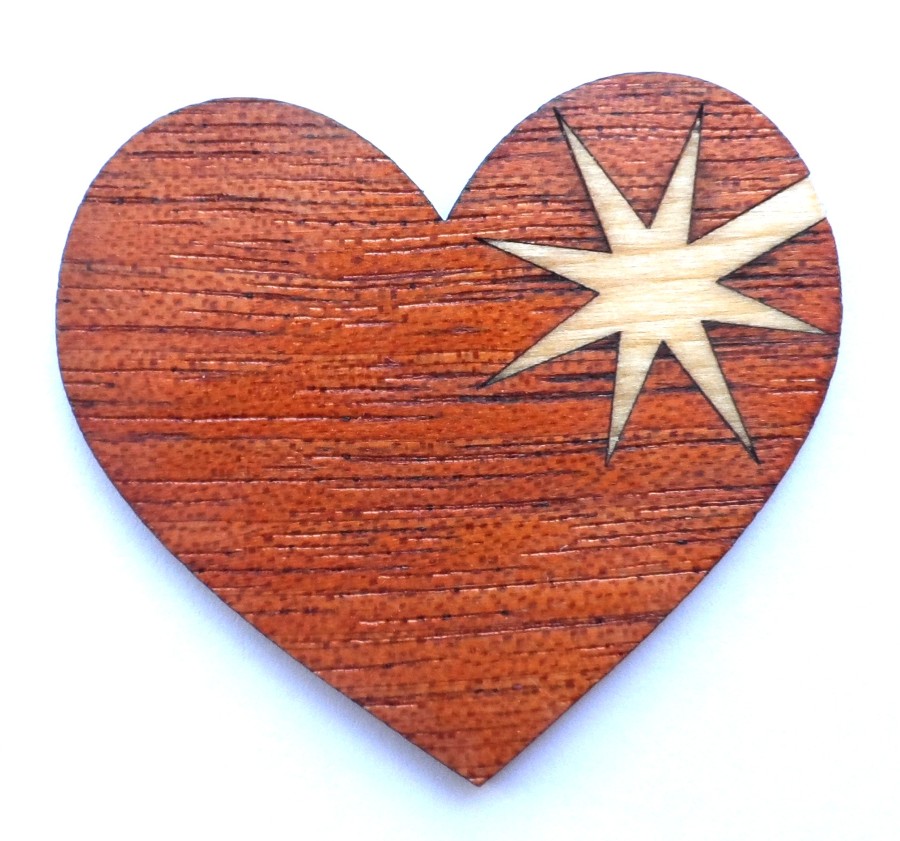
Marquetry is the art of applying thin veneers of wood to another surface (usually also wood), to create a design.
The method below is a fairly quick and ‘cheaty’ way to make marquetry-effect designs with a laser cutter. I may write a post later on a different method, but in the meantime:
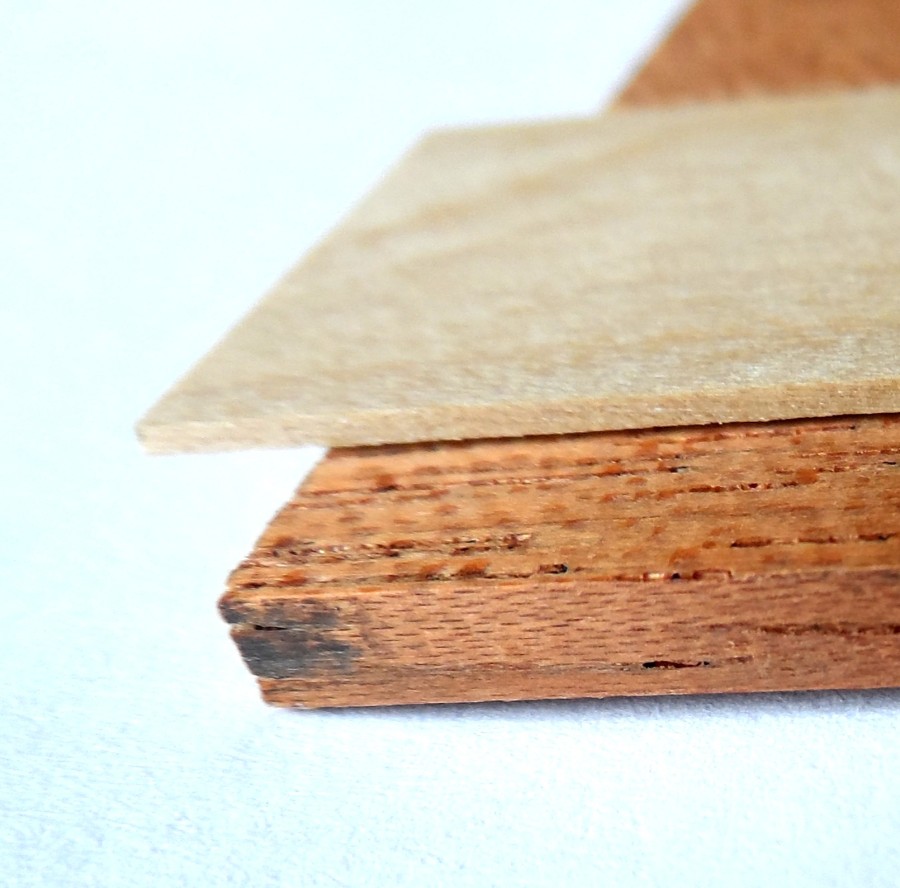
First you need at least two different types of wood, in different shades. One should be a very thin veneer-thickness wood (e.g. approx 1mm or 1/32in thick). The other should be at least twice as thick as the veneer wood (e.g. approx 2mm or 1/16in thick).
For example, your thicker piece could be a light birch wood, and the darker wood could be a special veneer wood.
The wood I used in this case comes from www.wood-supplies.com. I’m not 100% certain which wood I used, but I think it was a sheet of 1/8in thick mahogany and a strip of 1/32in thick boxwood:
You will need:
- Laser cutter 🙂
- Piece of wood approx 3mm (1/8in) thick (e.g. laserable wood)
- Thin piece of wood approx 1mm (1/32in) thick, that contrasts in colour with the other piece of wood (e.g. veneer wood )
- Wood glue (e.g. Gorilla Glue)
- Accurate measuring tool or micrometer
- Sandpaper (e.g. 400 grit)
- (Optional) Glue spreader or toothpick
Step 1: Create a design with whatever software you happen to use for your laser system (e.g. I use CorelDraw). I am making a simple flower design here, so I’m going to draw a basic flower with a circle ‘insert’ for the middle:
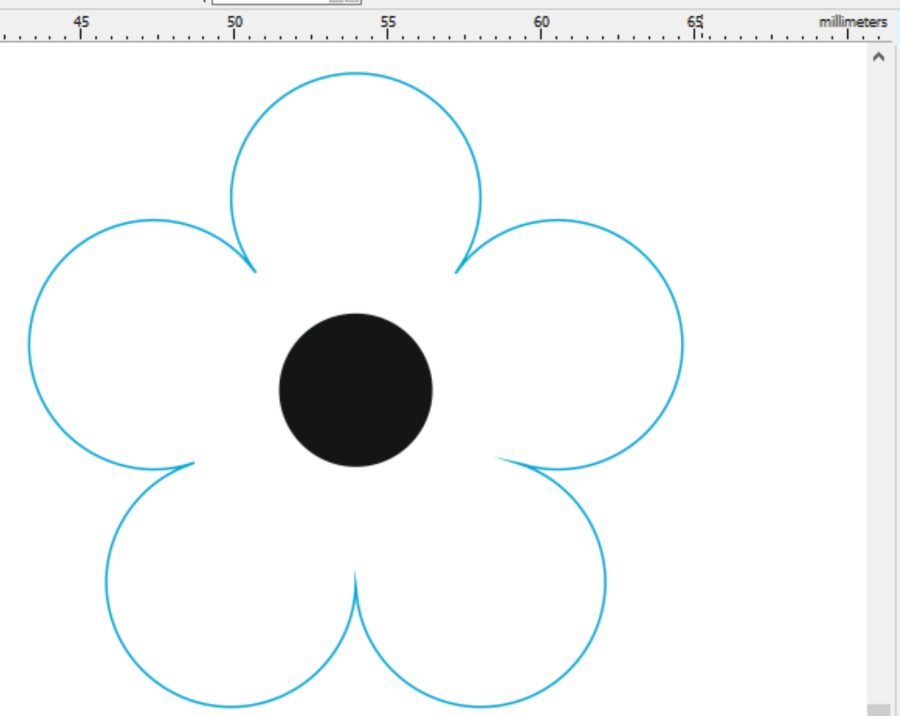
Note: As well as the design above, I also needed to design an ‘insert’ shape to put in the round hole above. So I duplicated the black circle and gave it an outline (see step 2 for illustration).
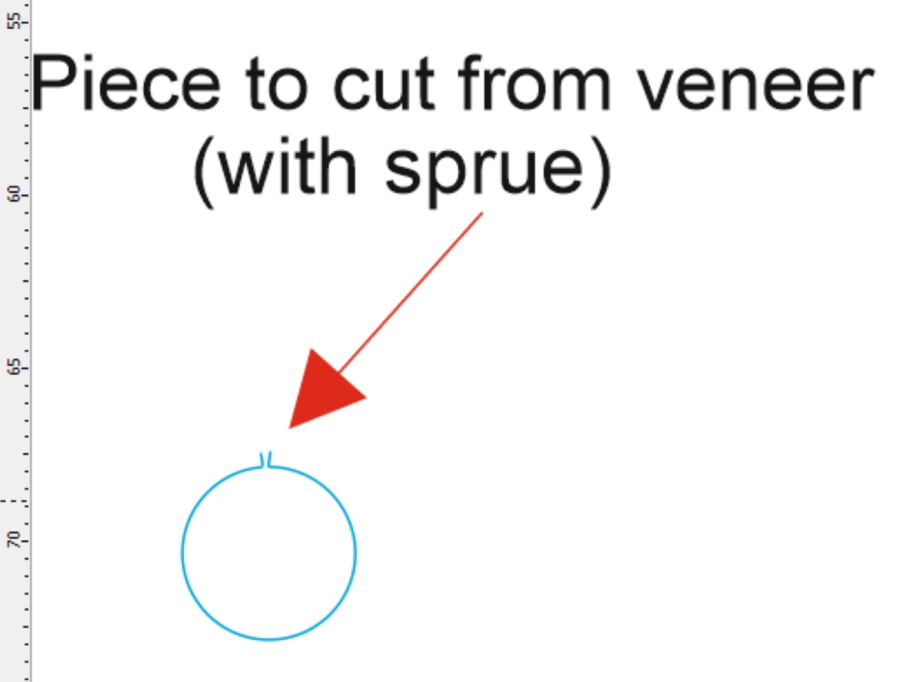
Step 2: Cut the insert shape from the veneer- thickness wood. (If it’s a very small piece, make sure you include a ‘sprue’ in the design, so it doesn’t drop through the cutting bed. For more info on creating sprues, please check out this article.)
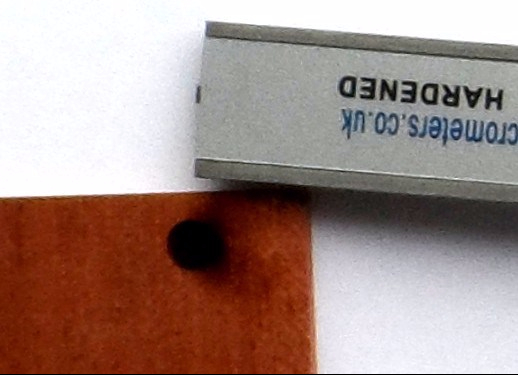
Step 3: measure the thickness of the piece you just cut.

Step 4: (Optional) If you’re starting from scratch then etch a test piece first. Measure how deep the etching is, then adjust the power/speed settings as necessary. You need to etch just a little bit deeper than the depth of the thin (veneer wood) piece. This is to take into account the layer of glue that will be used. So if your measurement of the veneer wood piece was 1mm thick, then you need to etch the design into the thicker wood so that the etched design is approx 1.2mm deep.
If there is too much charring or the etching doesn’t go deep enough even on 100% power, you may need to etch the same design again on top of the first etching, but perhaps on a slightly lower power setting. (e.g. if your veneer is 1mm thick but the etching is only 0.7mm deep, then you can etch the same design again but using less power the second time, or the second etching will be too deep.) Tip: DO NOT MOVE the piece of wood when you are measuring it, because if you need to etch again to go deeper then you want to make sure the second etch goes in exactly the same place as the first etch.
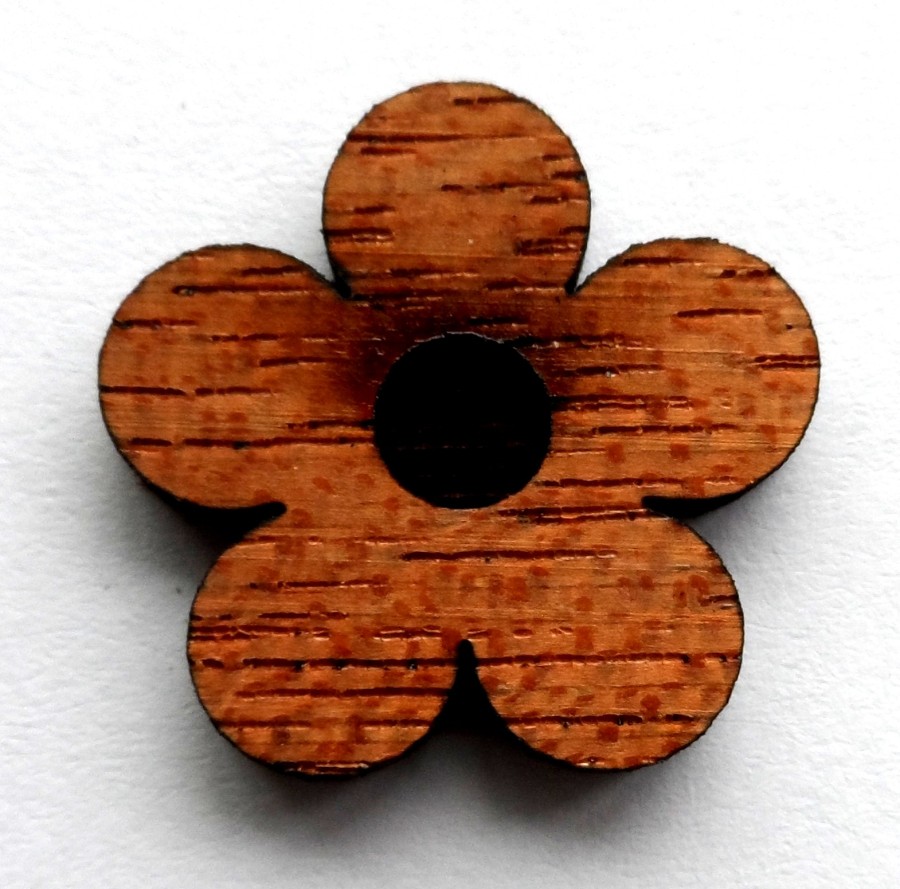
Step 5: Etch the design (the small circle, in this example) into the thicker wood. As mentioned above, you need to etch very slightly deeper than the thickness of the thinner (veneer wood) piece, to take account of the glue later. So if your measurement of the veneer wood piece was 1mm thick, then you need to etch the design into the thicker wood so that the etched design is approx. 1.2mm deep. Tip: If you’re etching twice, DO NOT MOVE the piece of wood after the first etch, because the etched design will be out of position when the finished design is cut.
Step 6: Cut the outer shape (the flower shape, in this example) from the thicker wood. Again, my laser and wood will be different to yours so I haven’t given the power/speed settings here, but if you are cutting the thicker wood for the first time then try a test piece first.
Step 7: Apply a very thin layer of glue inside the etched design.
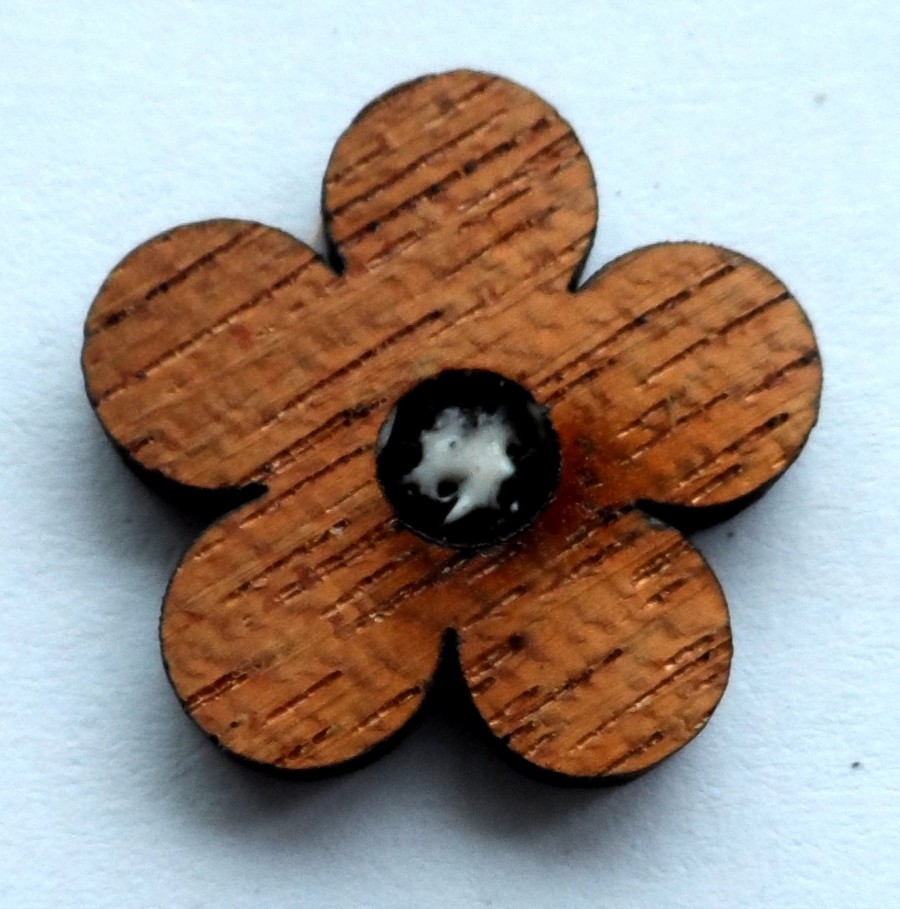
Step 8: Insert the thin veneer piece into the etched hole, and leave the glue to dry (time will depend on the glue manufacturer’s guidelines).
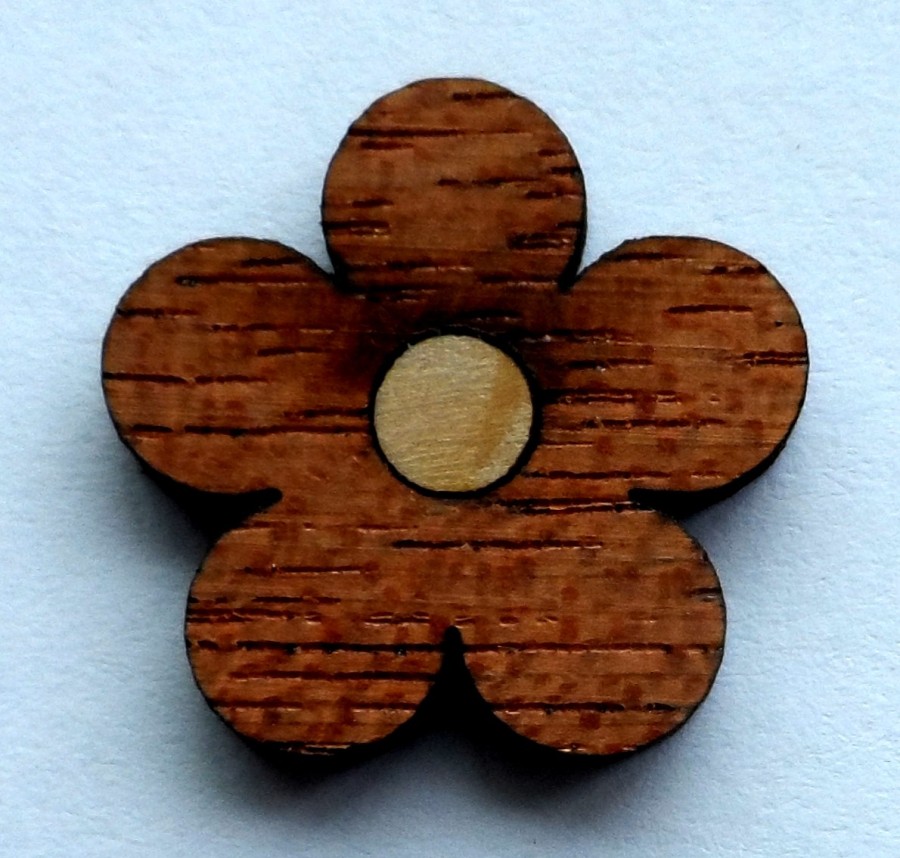
Step 9: Sand the surface of the marquetry piece so that the different woods are exactly level with each other and show no scorch marks from the laser.
That’s it! Hope you liked the article. If you have any comments or questions, please feel free to share them in the comments section, or via the contact form.