
This is a quick and easy way to make a personalised door plaque for children (or yourself!).
As mentioned previously in an earlier post, this is the start of an “A-Z” resource of laser-cutting business tips and information. We’re starting with ‘Alphabet’ because there are so many ways to personalise objects with a laser cutter, and this is a great way to start earning money with your laser machine.
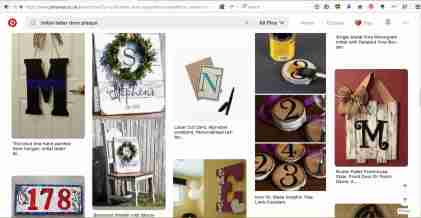
If you’re interested in creating your own designs then Pinterest is great for picking up inspiration from the different types of door plaques …
… but in the meantime here is a quick project if you are looking for instant gratification 🙂
Basically,
1) Download the free .pdf file below, of “Alphabet Door Plaque”. (If necessary, copy or import the designs into your blank file ready for cutting.)
alphabet door plaque – LaserSister 20171113

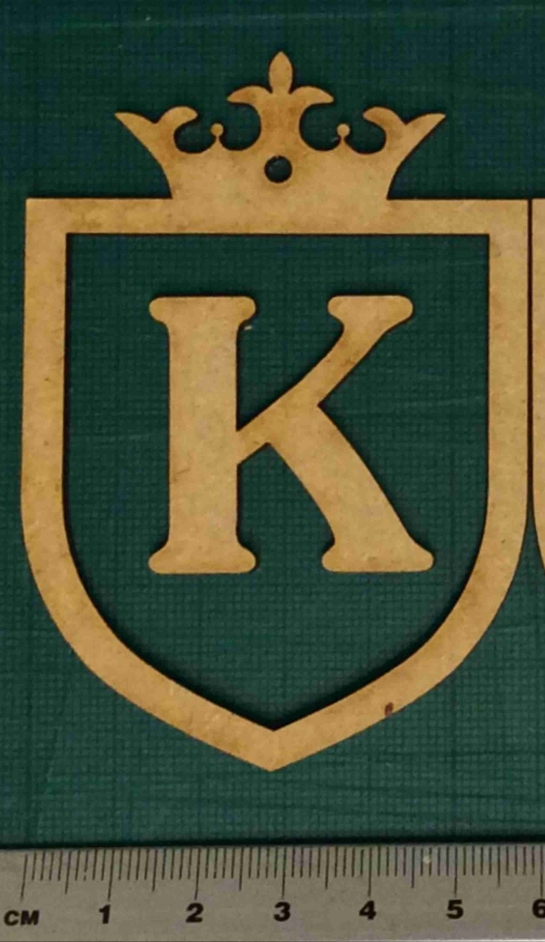
2) Create your required (capital) letter of the alphabet in whichever font you prefer. (The “K” in the sample file happens to be in a Jasmine font, but please do experiment with your own; maybe the child you have in mind deserves a more delicate, refined-looking font, or perhaps they are more of a straightforward sans-serif person?)

3) Make sure the letter you just created has got a “hairline” width of outline, and preferably no colour filling (this is a lesson I’ve learned from accidentally etching a lot of items instead of just cutting them…)

4) Check that the initial letter will fit inside the frame of the plaque. (This is down to personal preference, really, but as a guide the inside of the frame on the .pdf design is 50mm wide, and the “K” example letter is 35mm wide so it fits nicely inside the frame.)

5) Decide how big you would like the whole plaque to be. The example in the .pdf sample file is 60mm across, but you might like a bigger or smaller version. (Remember to change the size of the backing piece as well as the frame piece, if you are making the design larger or smaller.)

6) Decide whether you would like to include a hole in the piece, for hanging it on the door. If so, then keep the red circles in the cutting design. Otherwise, remove the red circles before you cut the pieces out.
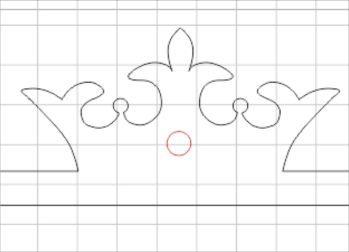
7) (Optional) Cut out the blue circle as a test piece, to make sure you have the correct settings for the laser.

8) Cut out the plaque pieces
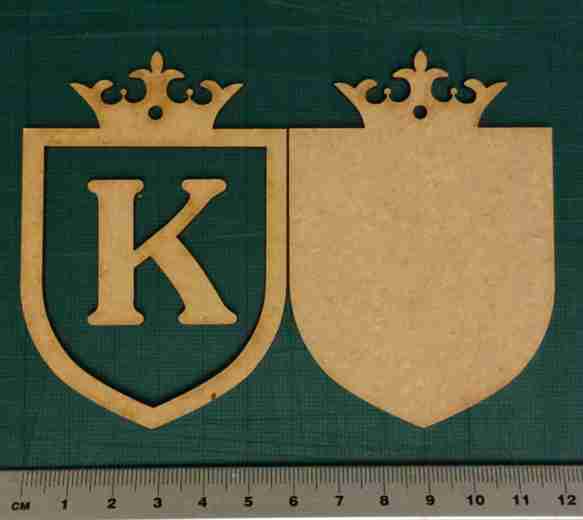
9) Glue the frame and letter onto the backing.

10) Paint/spray/decorate/sell the plaque.
If you have found this useful (or if you’ve got any suggestions for making the resources better), or if you’ve created a door plaque yourself, please comment, tweet @LaserSister, or share your photos on instagram.